Virtual Jewelry Try On
Digitally dress models in jewelry, hats, bags, shoes and more with Virtual jewelry try-on -- creating realistic accessory previews without physical photoshoots.
How to Create Virtual Jewelry Try On Photos?
1. Upload model + accessory photos
Upload your accessory (jewelry, hat, bag, shoes) image, and a photo of the model.
2. Specify accessory type & area
Select the type of accessory, and mark the placement area with brush if needed.
3. Generate virtual jewelry try on
Get realistic photoshoots of models wearing your accessory product.
Why Choose Virtual Jewelry Try On?
Perfect for online stores, ads & social media content
With Virtual Jewelry Try On, you can create polished accessory images without needing a photoshoot, model, or studio. This saves time and cost, and lets you refresh product listings or marketing campaigns quickly.
- Physically accurate metal and gemstone rendering
- Adapts to customer skin tone and lighting conditions
- Supports rings, necklaces, earrings, bracelets, and watches
- Real-time preview with smooth frame rates on mobile
Reduce Returns, Increase Confidence
Jewelry has some of the highest return rates in e-commerce — often because customers cannot judge scale and fit from photos alone. Virtual try-on bridges that gap and builds the confidence to click 'Buy.'
- Reduce jewelry return rates by up to 40%
- Increase add-to-cart rates by 25% on average
- Customers spend 3x longer on product pages with try-on
- Build trust for high-value purchases
Flexible & Scalable Content Creation
Combine any accessory with any model, try different variations (rings, earrings, bags, hats, shoes), and tweak placement or look until it fits. Whether you need close-ups for product pages or full-body lifestyle shots for ads or social media, you can generate them quickly.
Key Features of Virtual Jewelry Try On
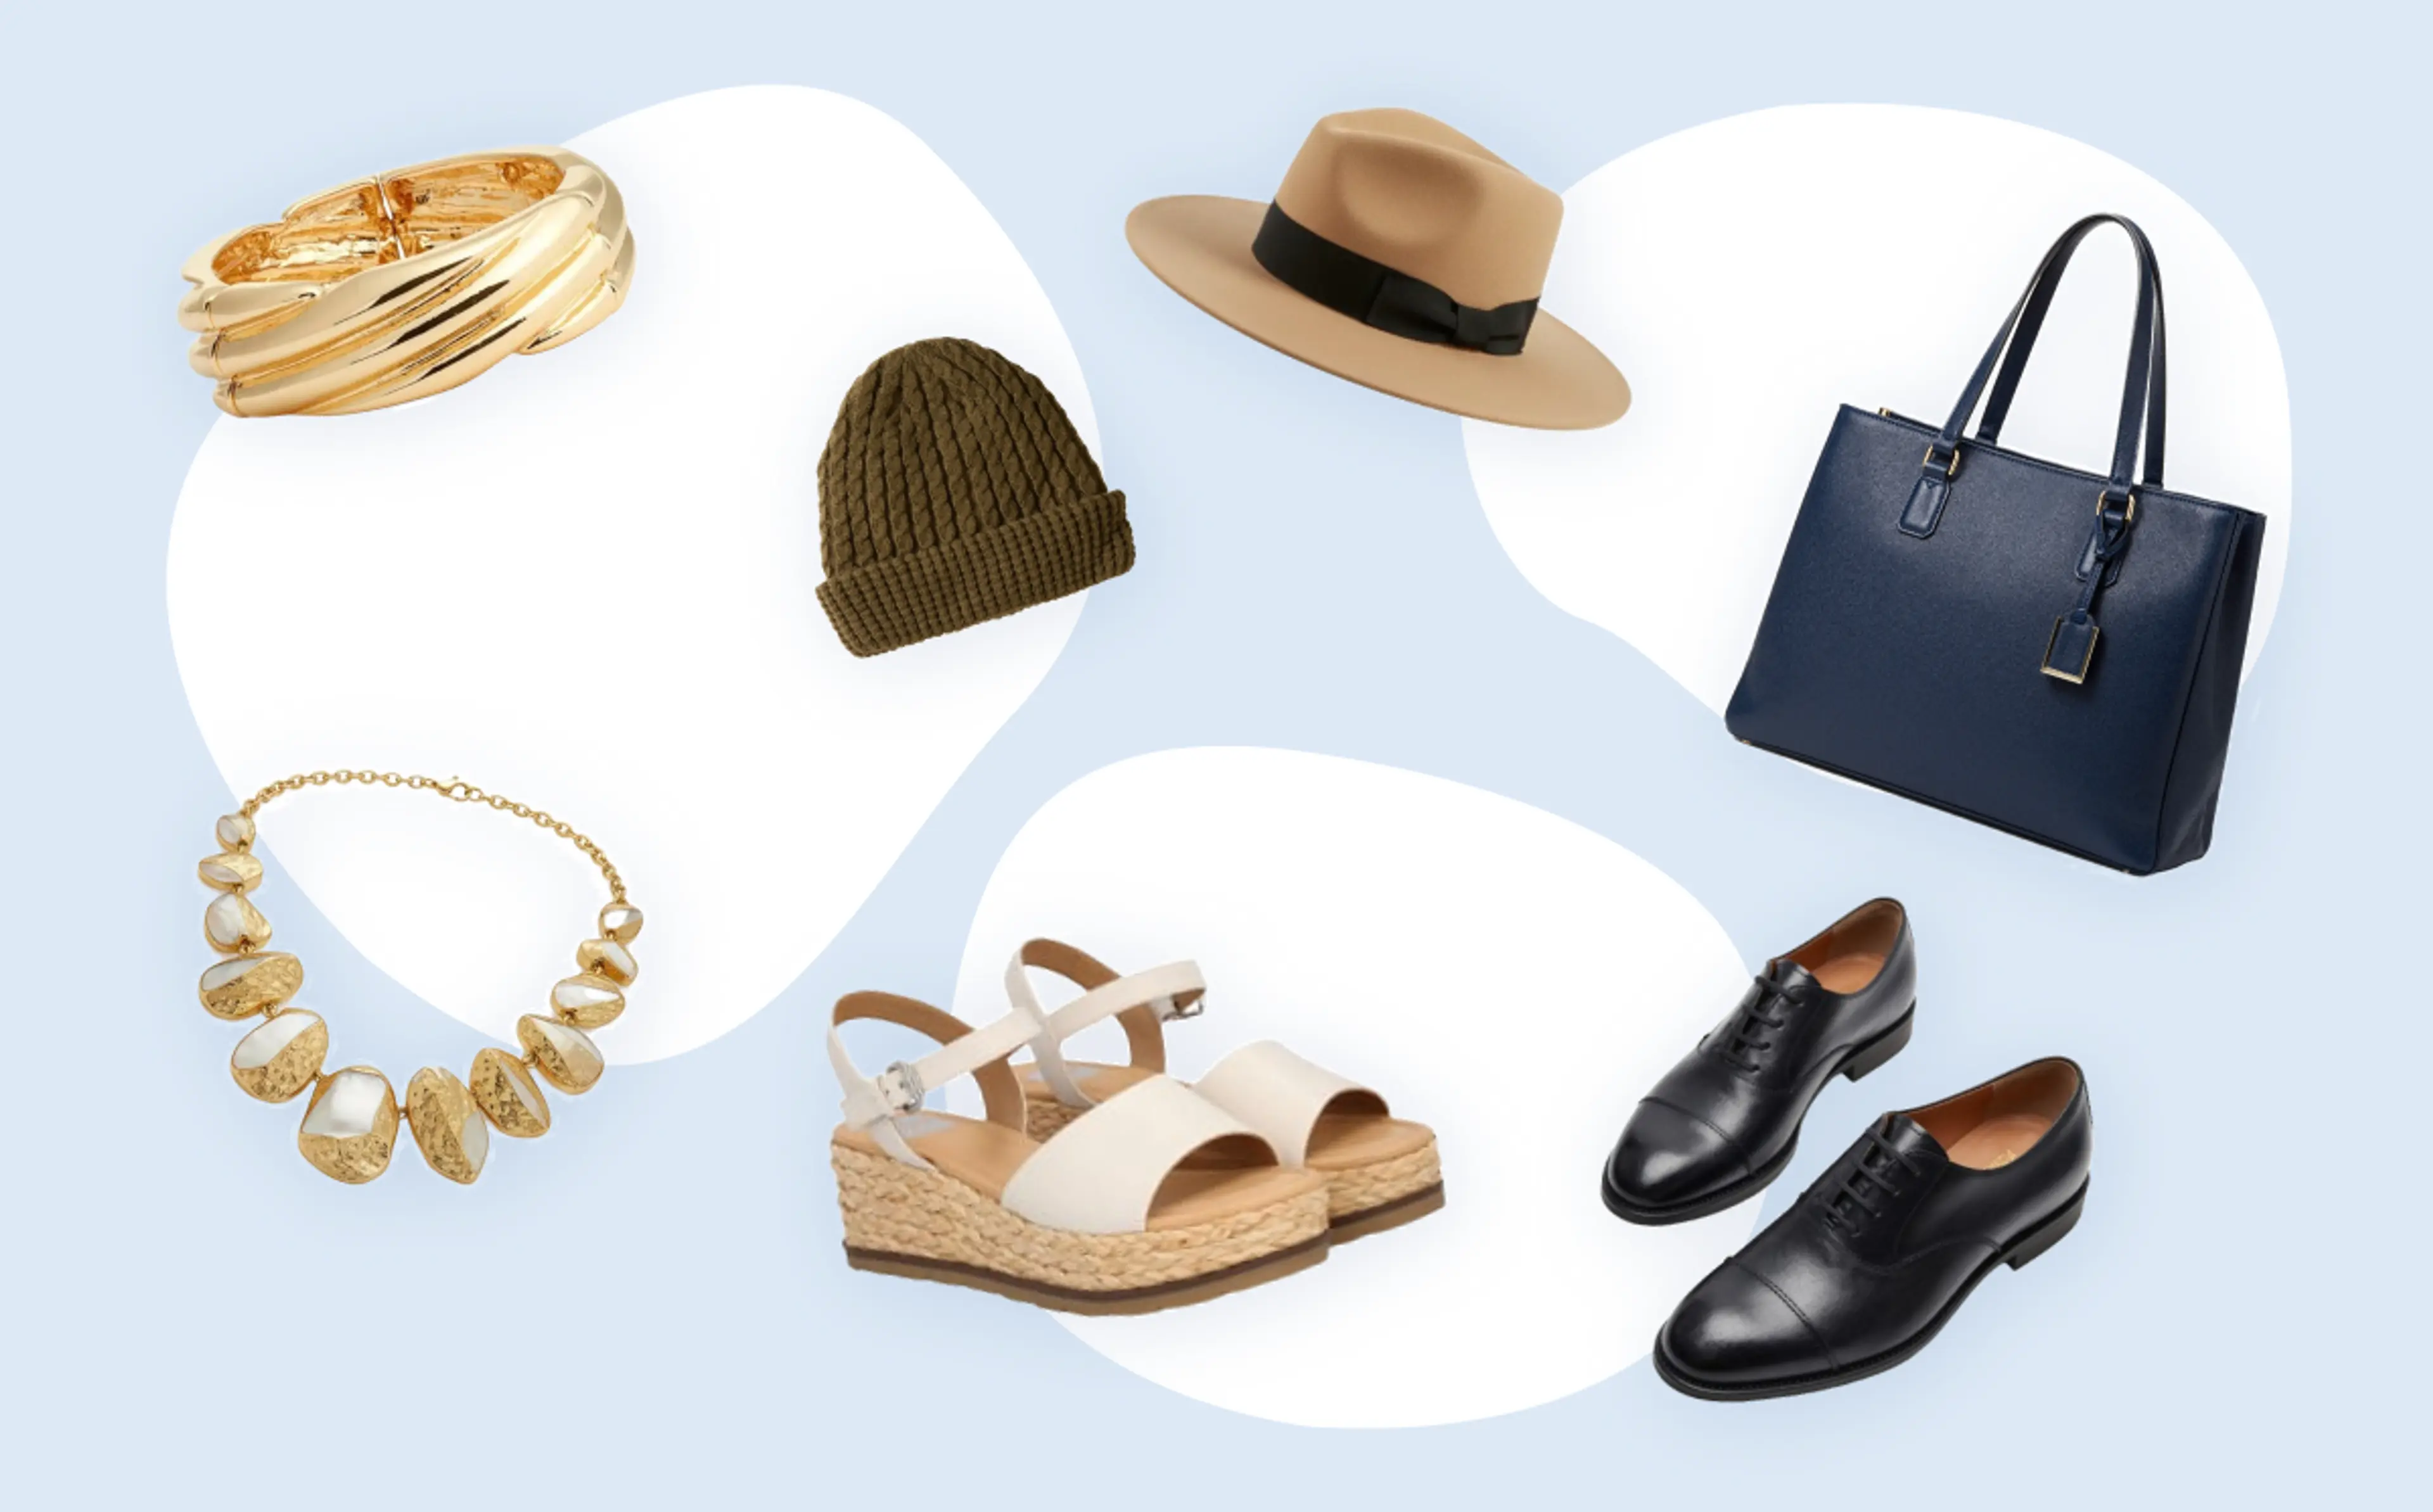
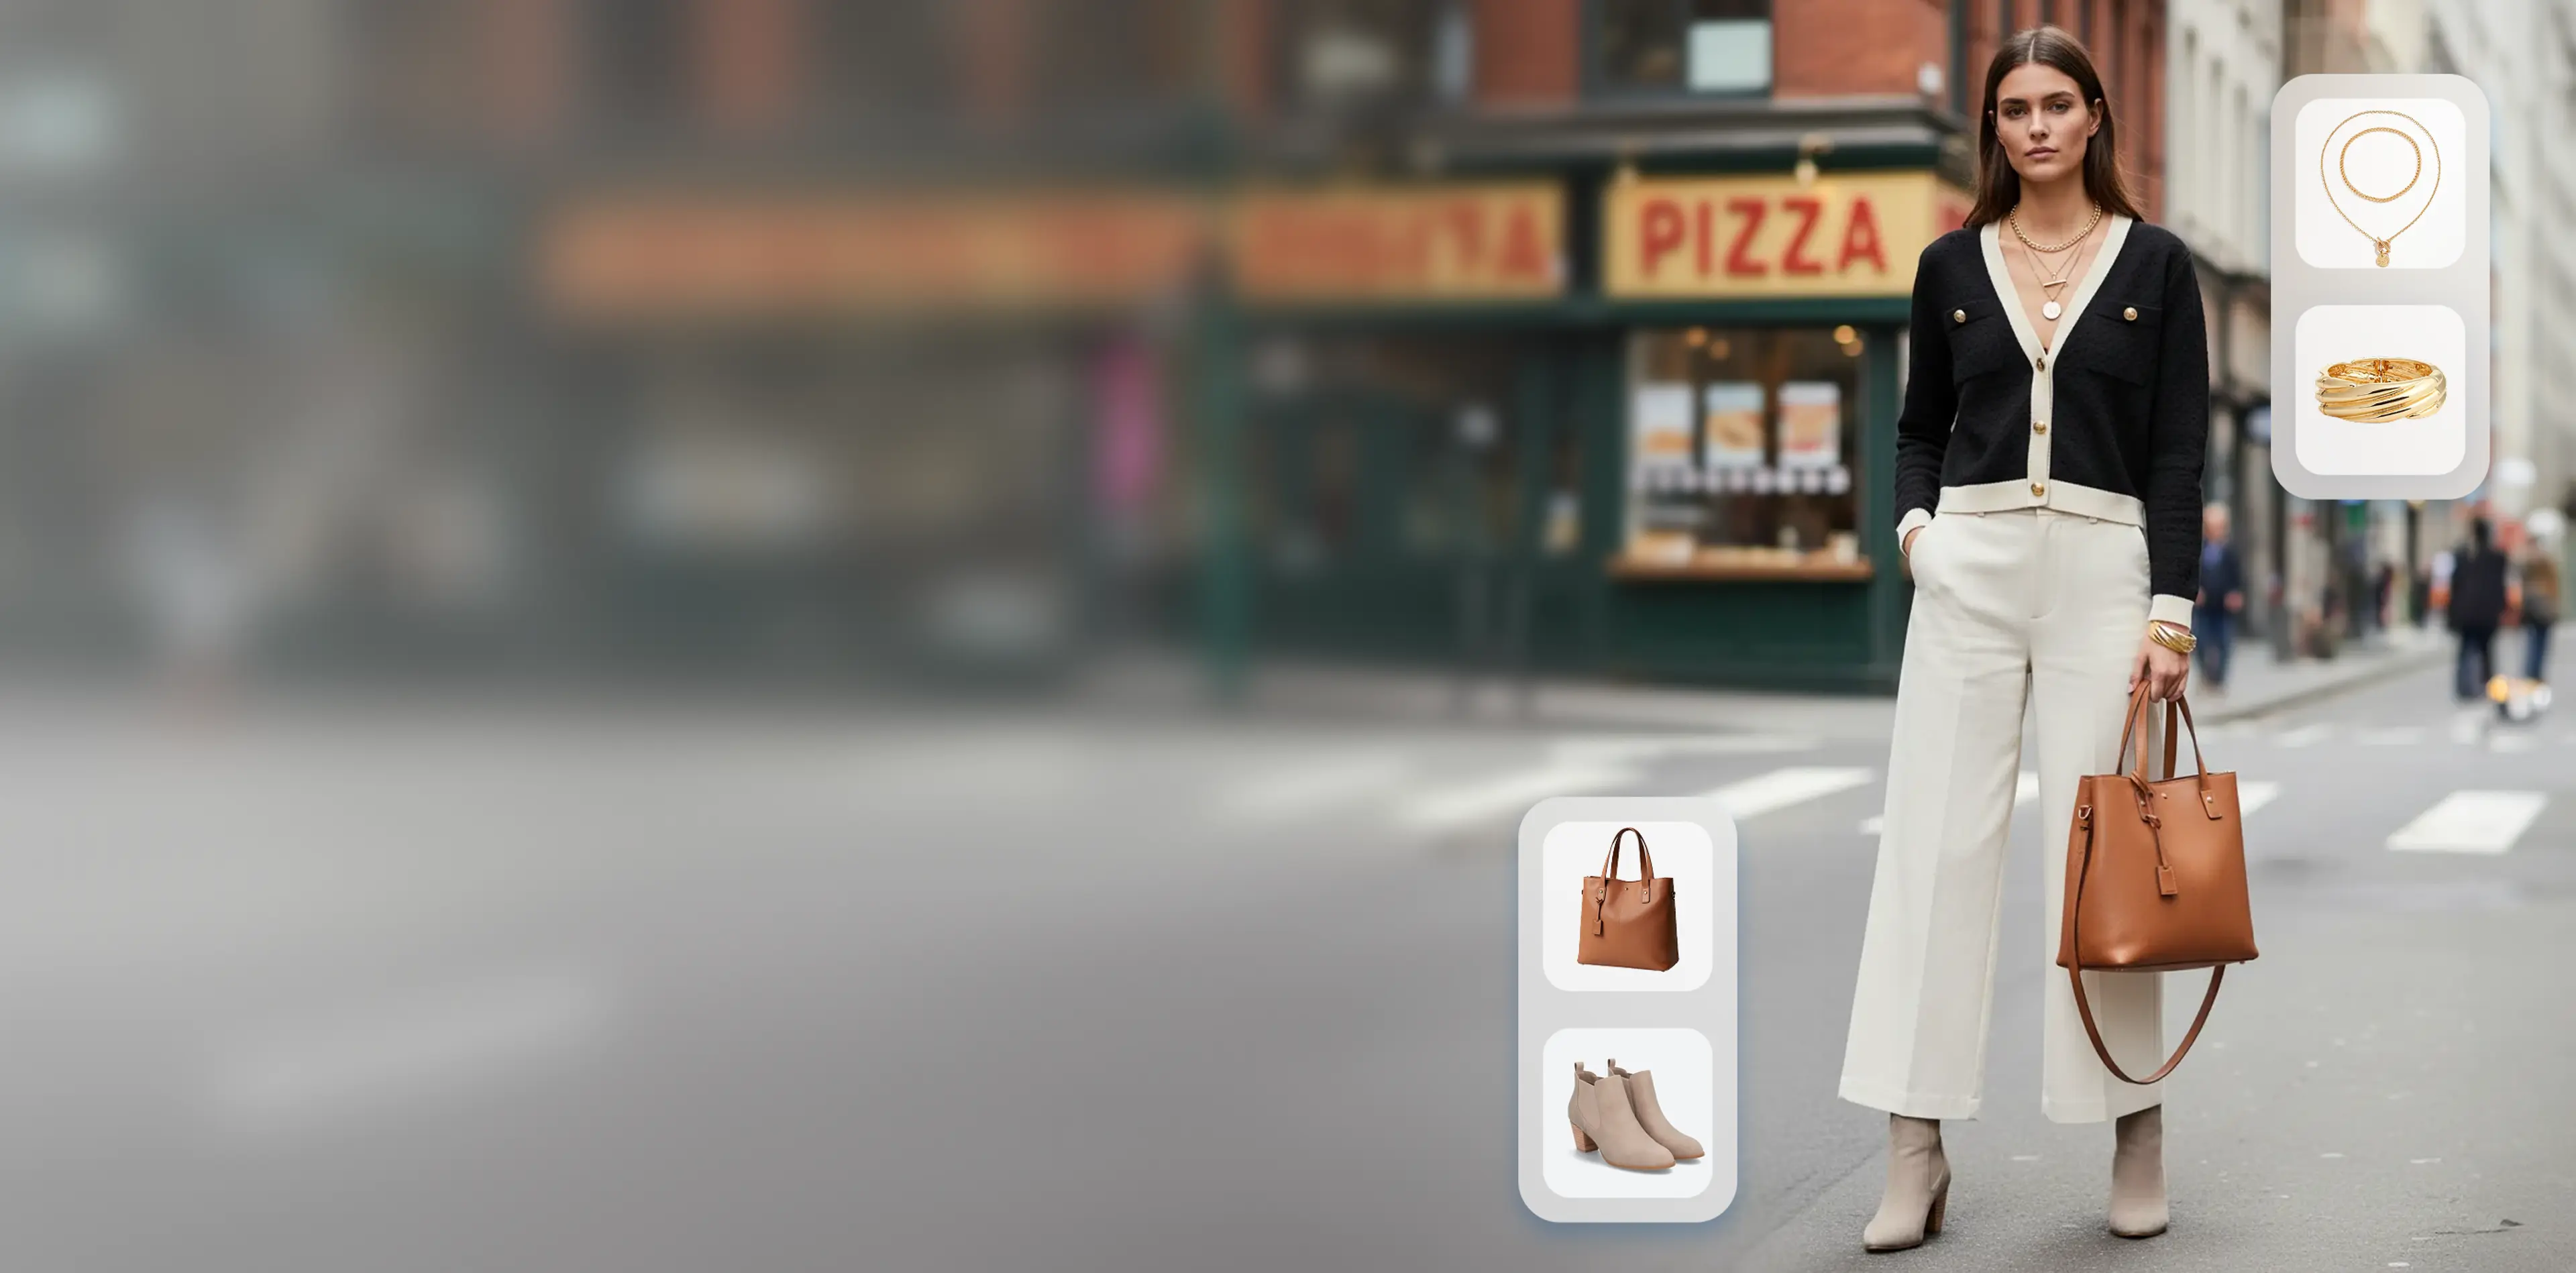
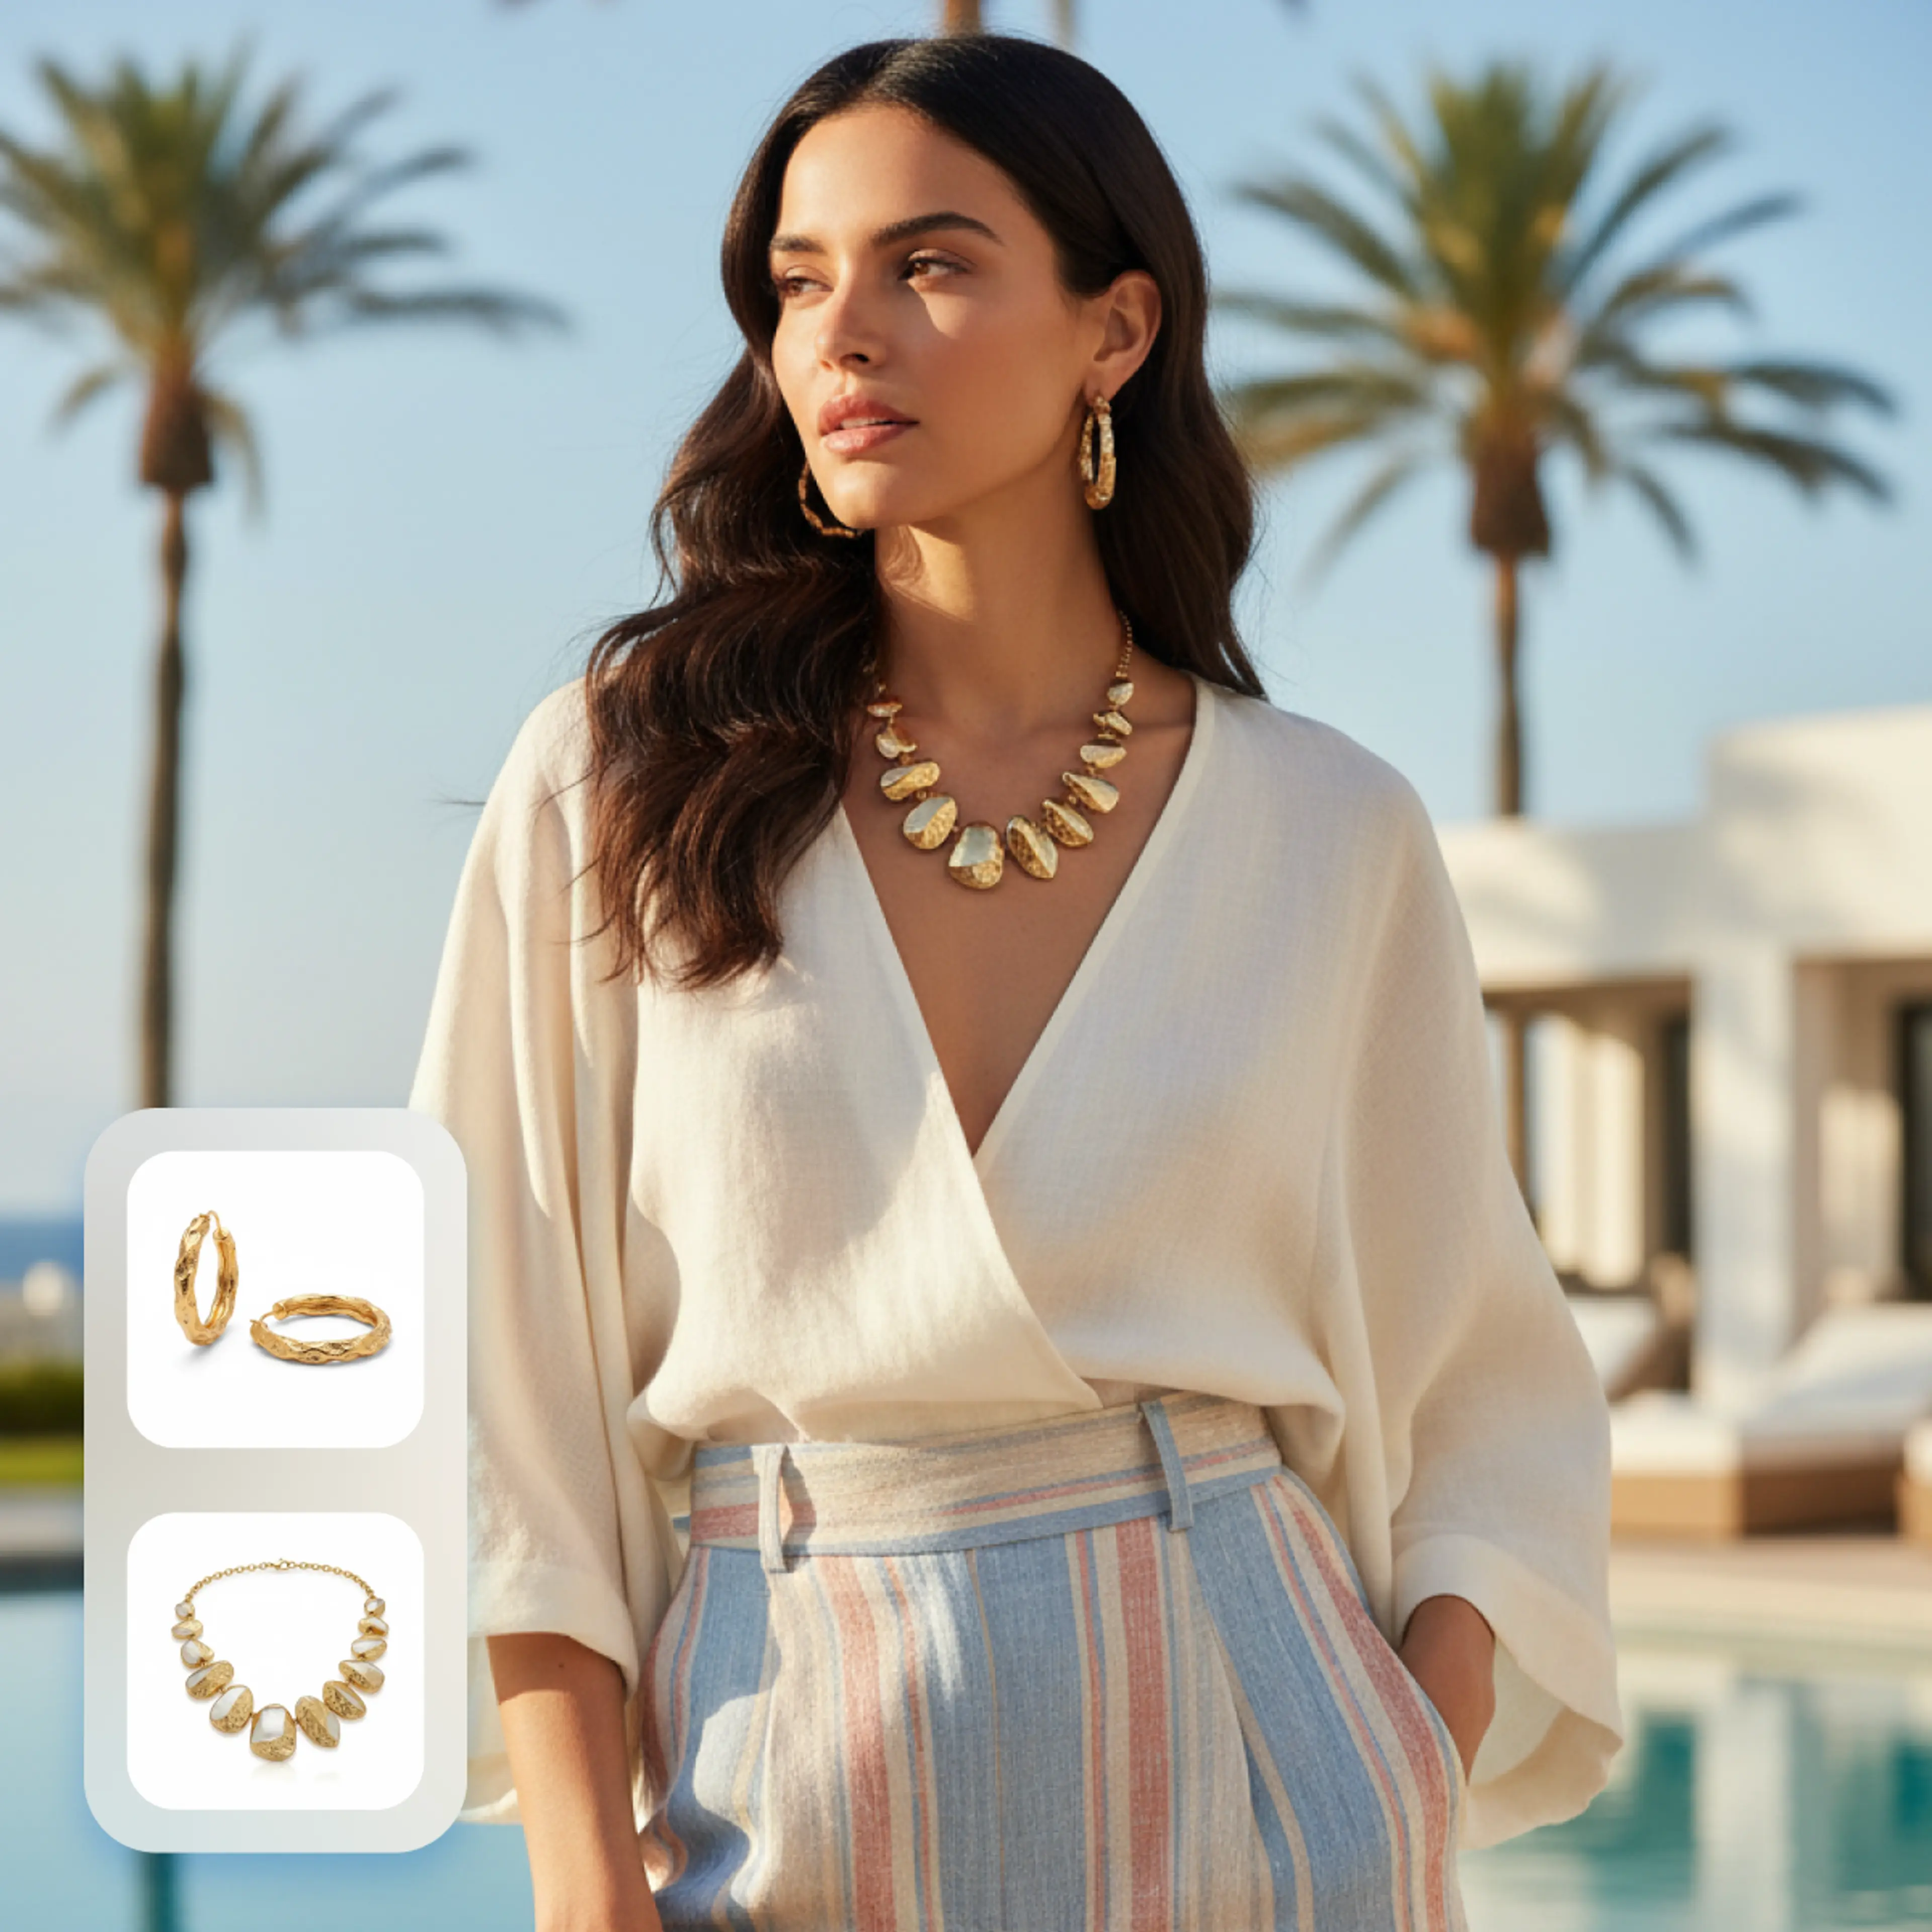
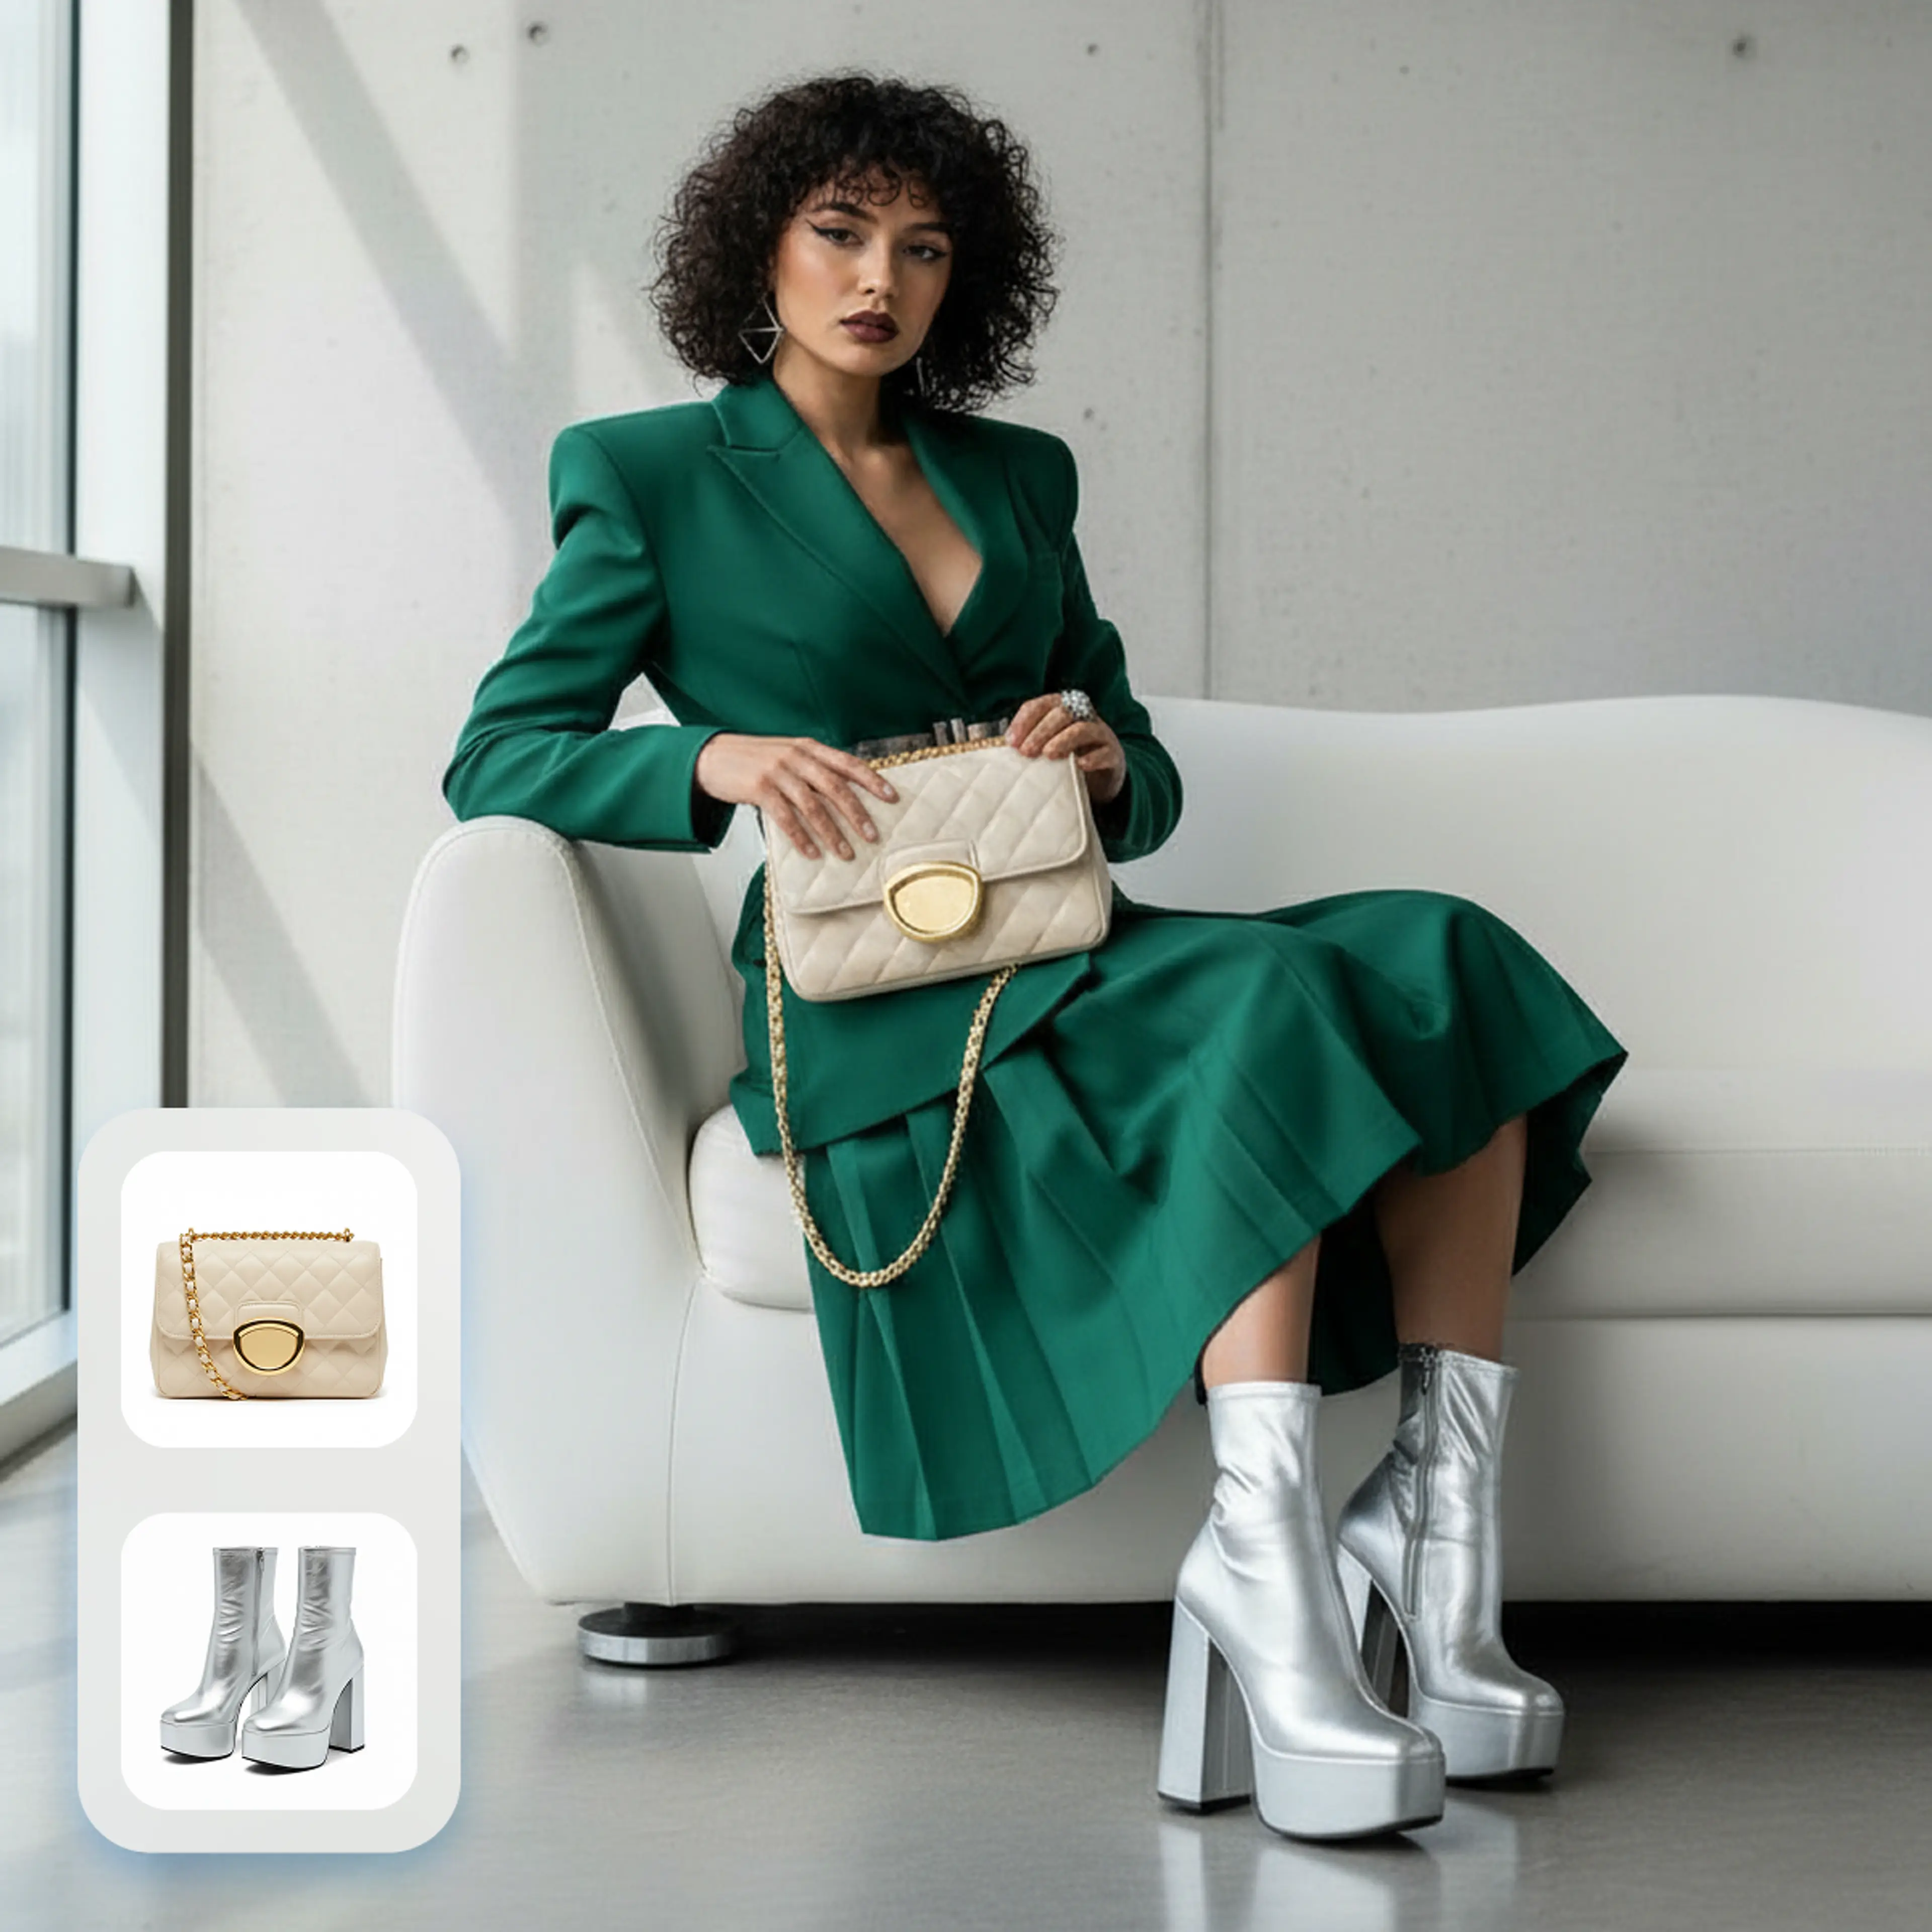
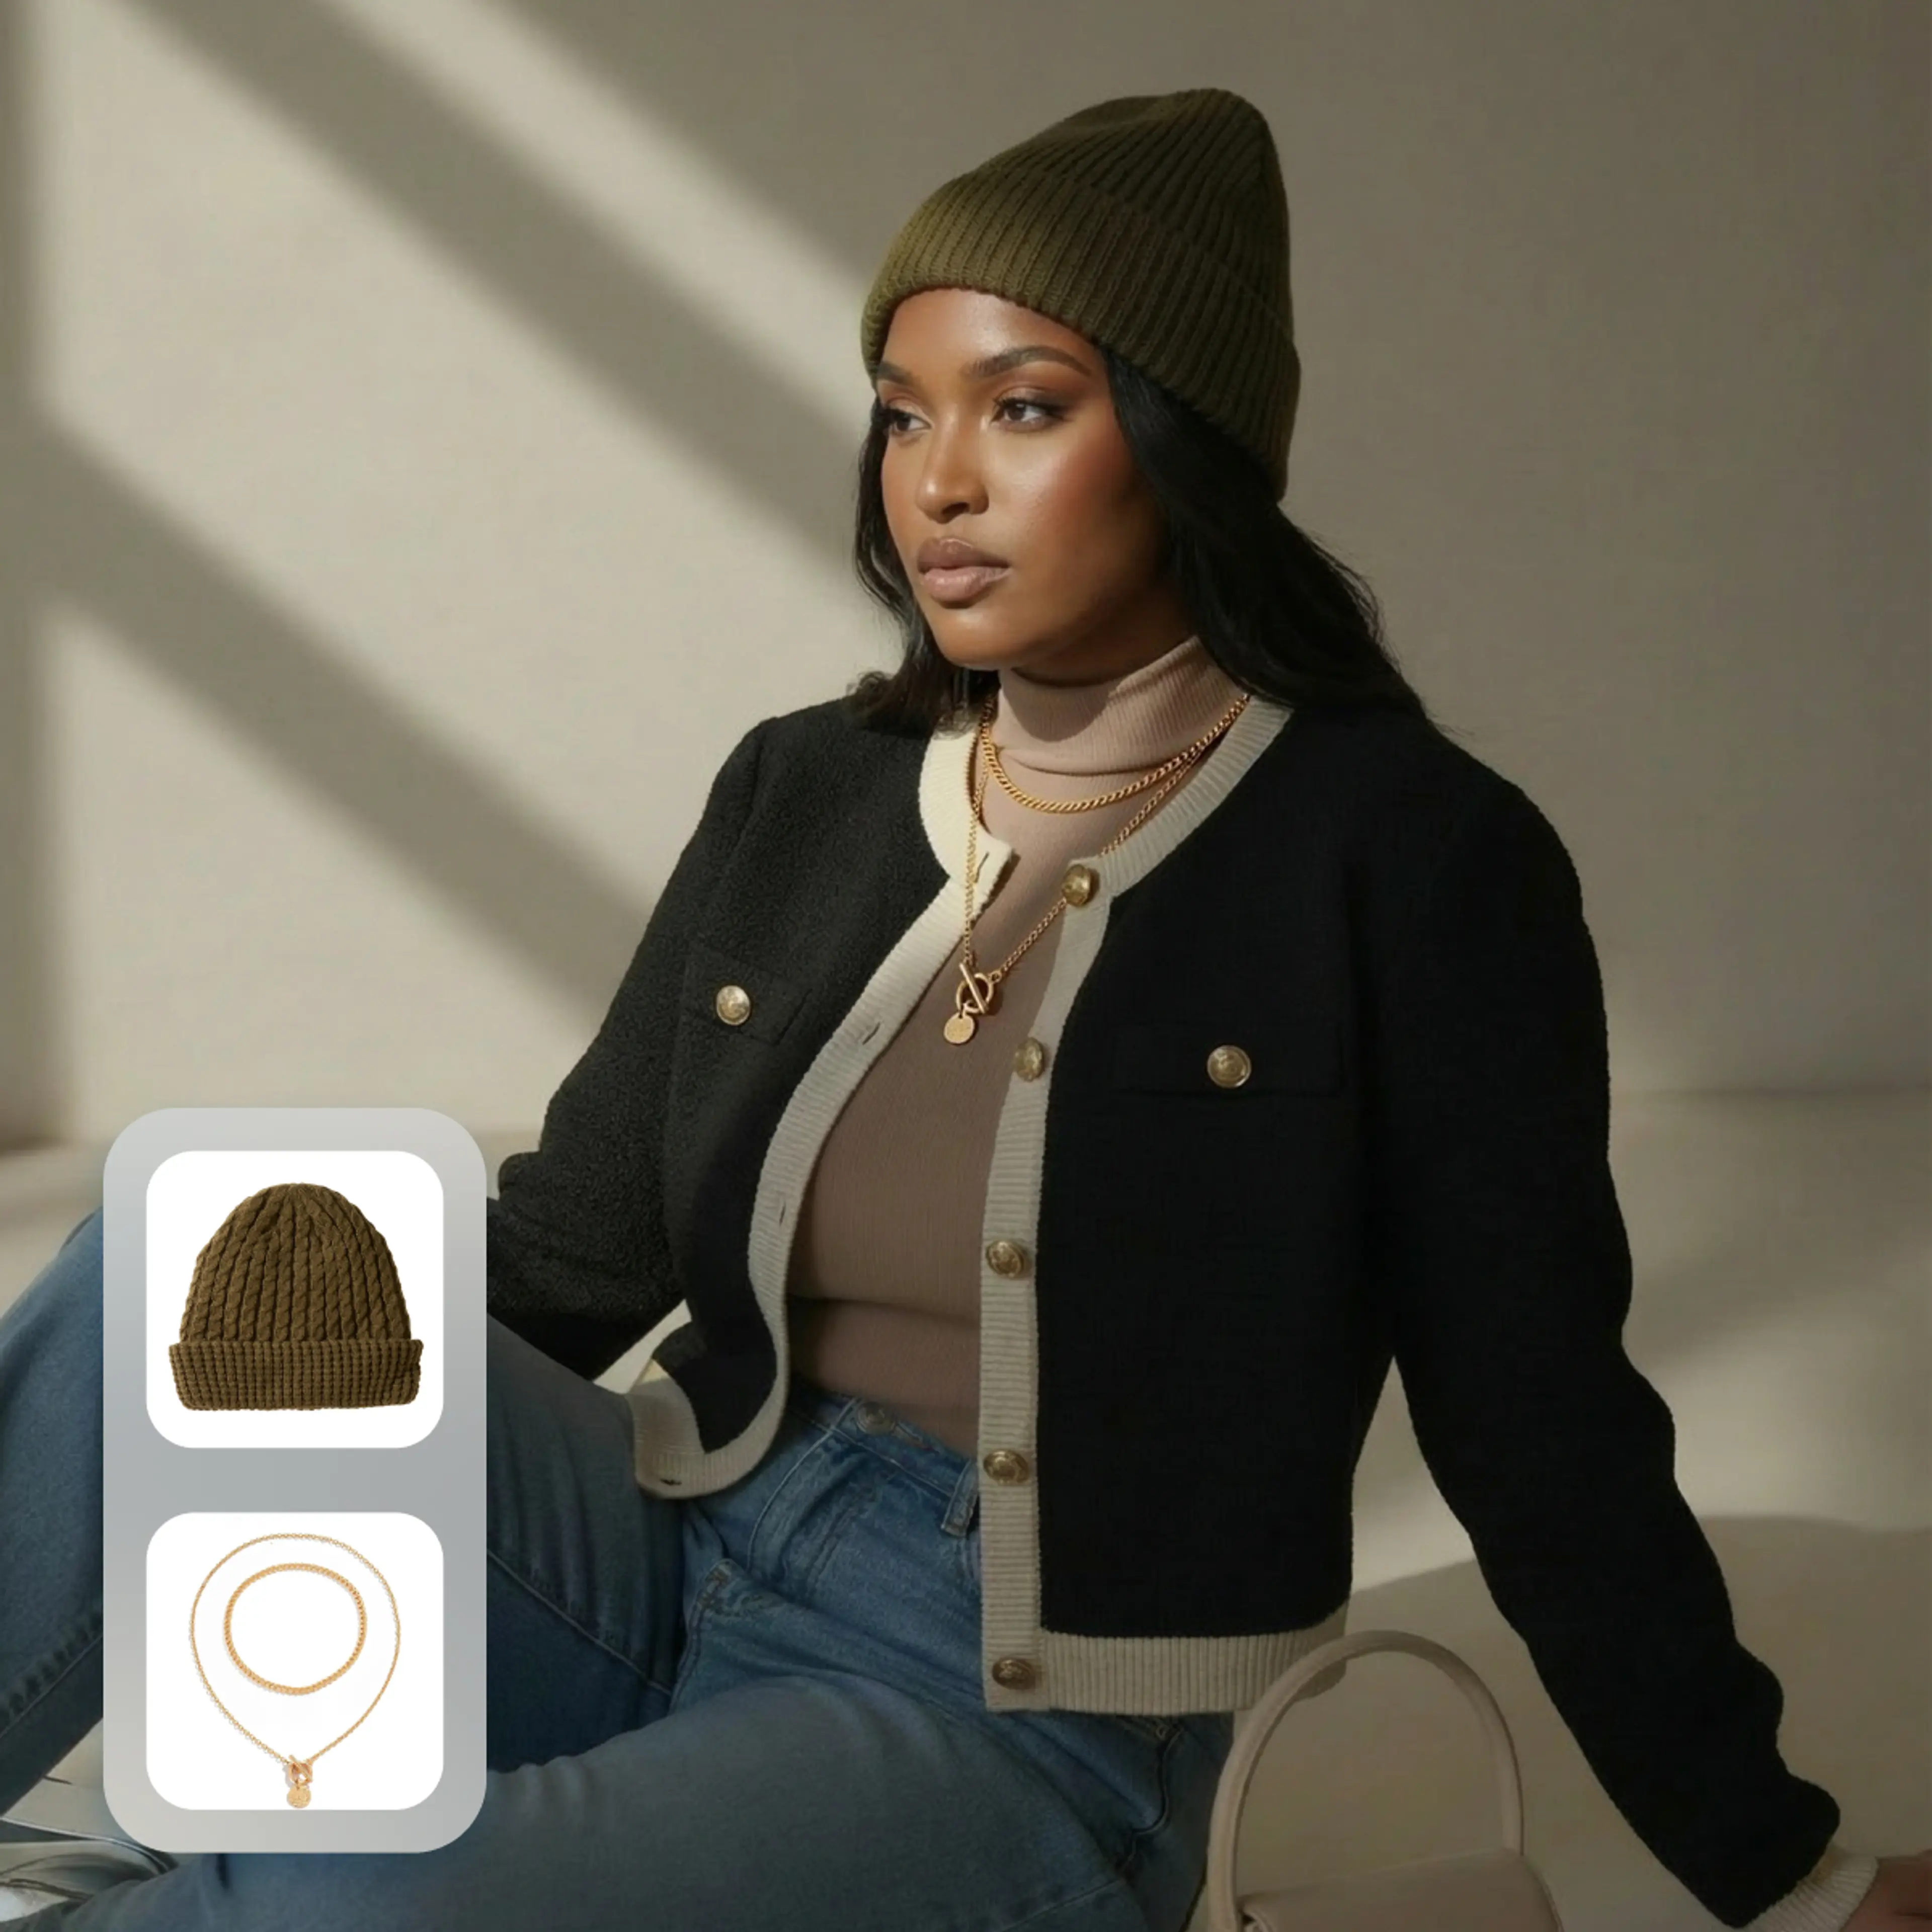
Try on jewelry, hats, shoes, bags — and more
Support for virtually any wearable: rings, earrings, necklaces, bracelets, hats, bags, shoes. Mix and match freely for different styles and campaigns.
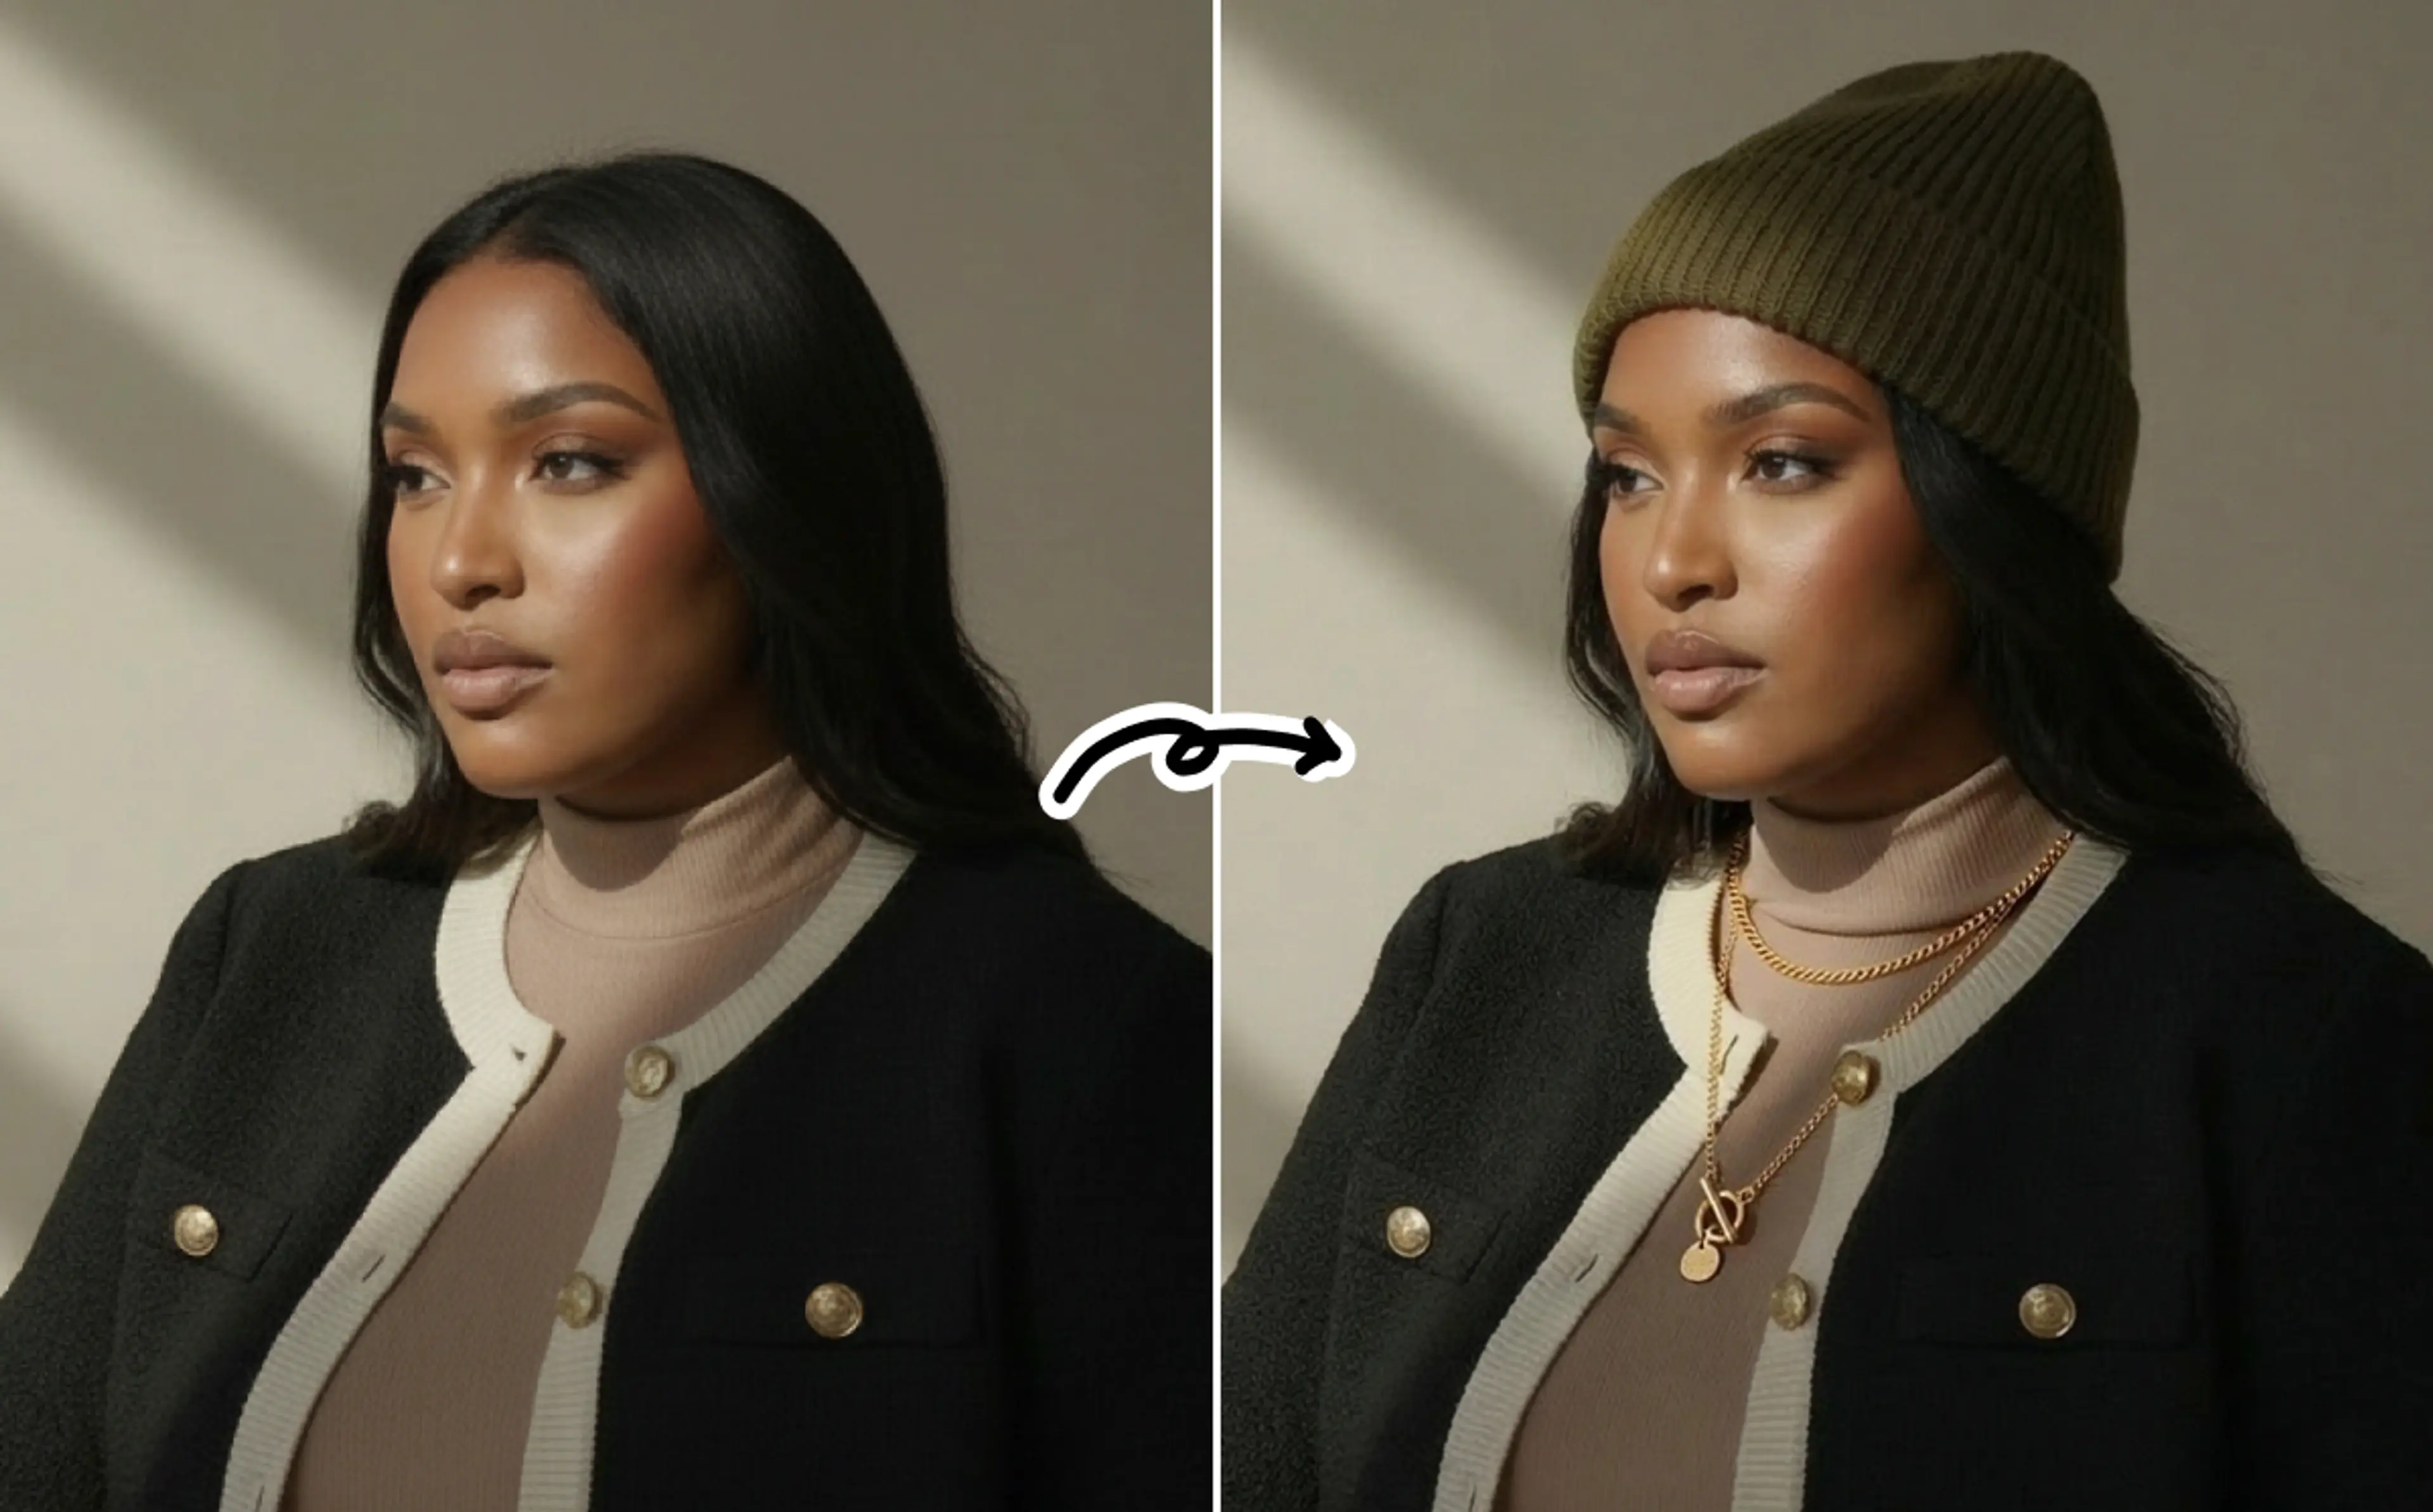
Keep the original model intact
Your model photo stays unchanged except for the added accessory. You can also customize your own models using the AI fashion model generator.
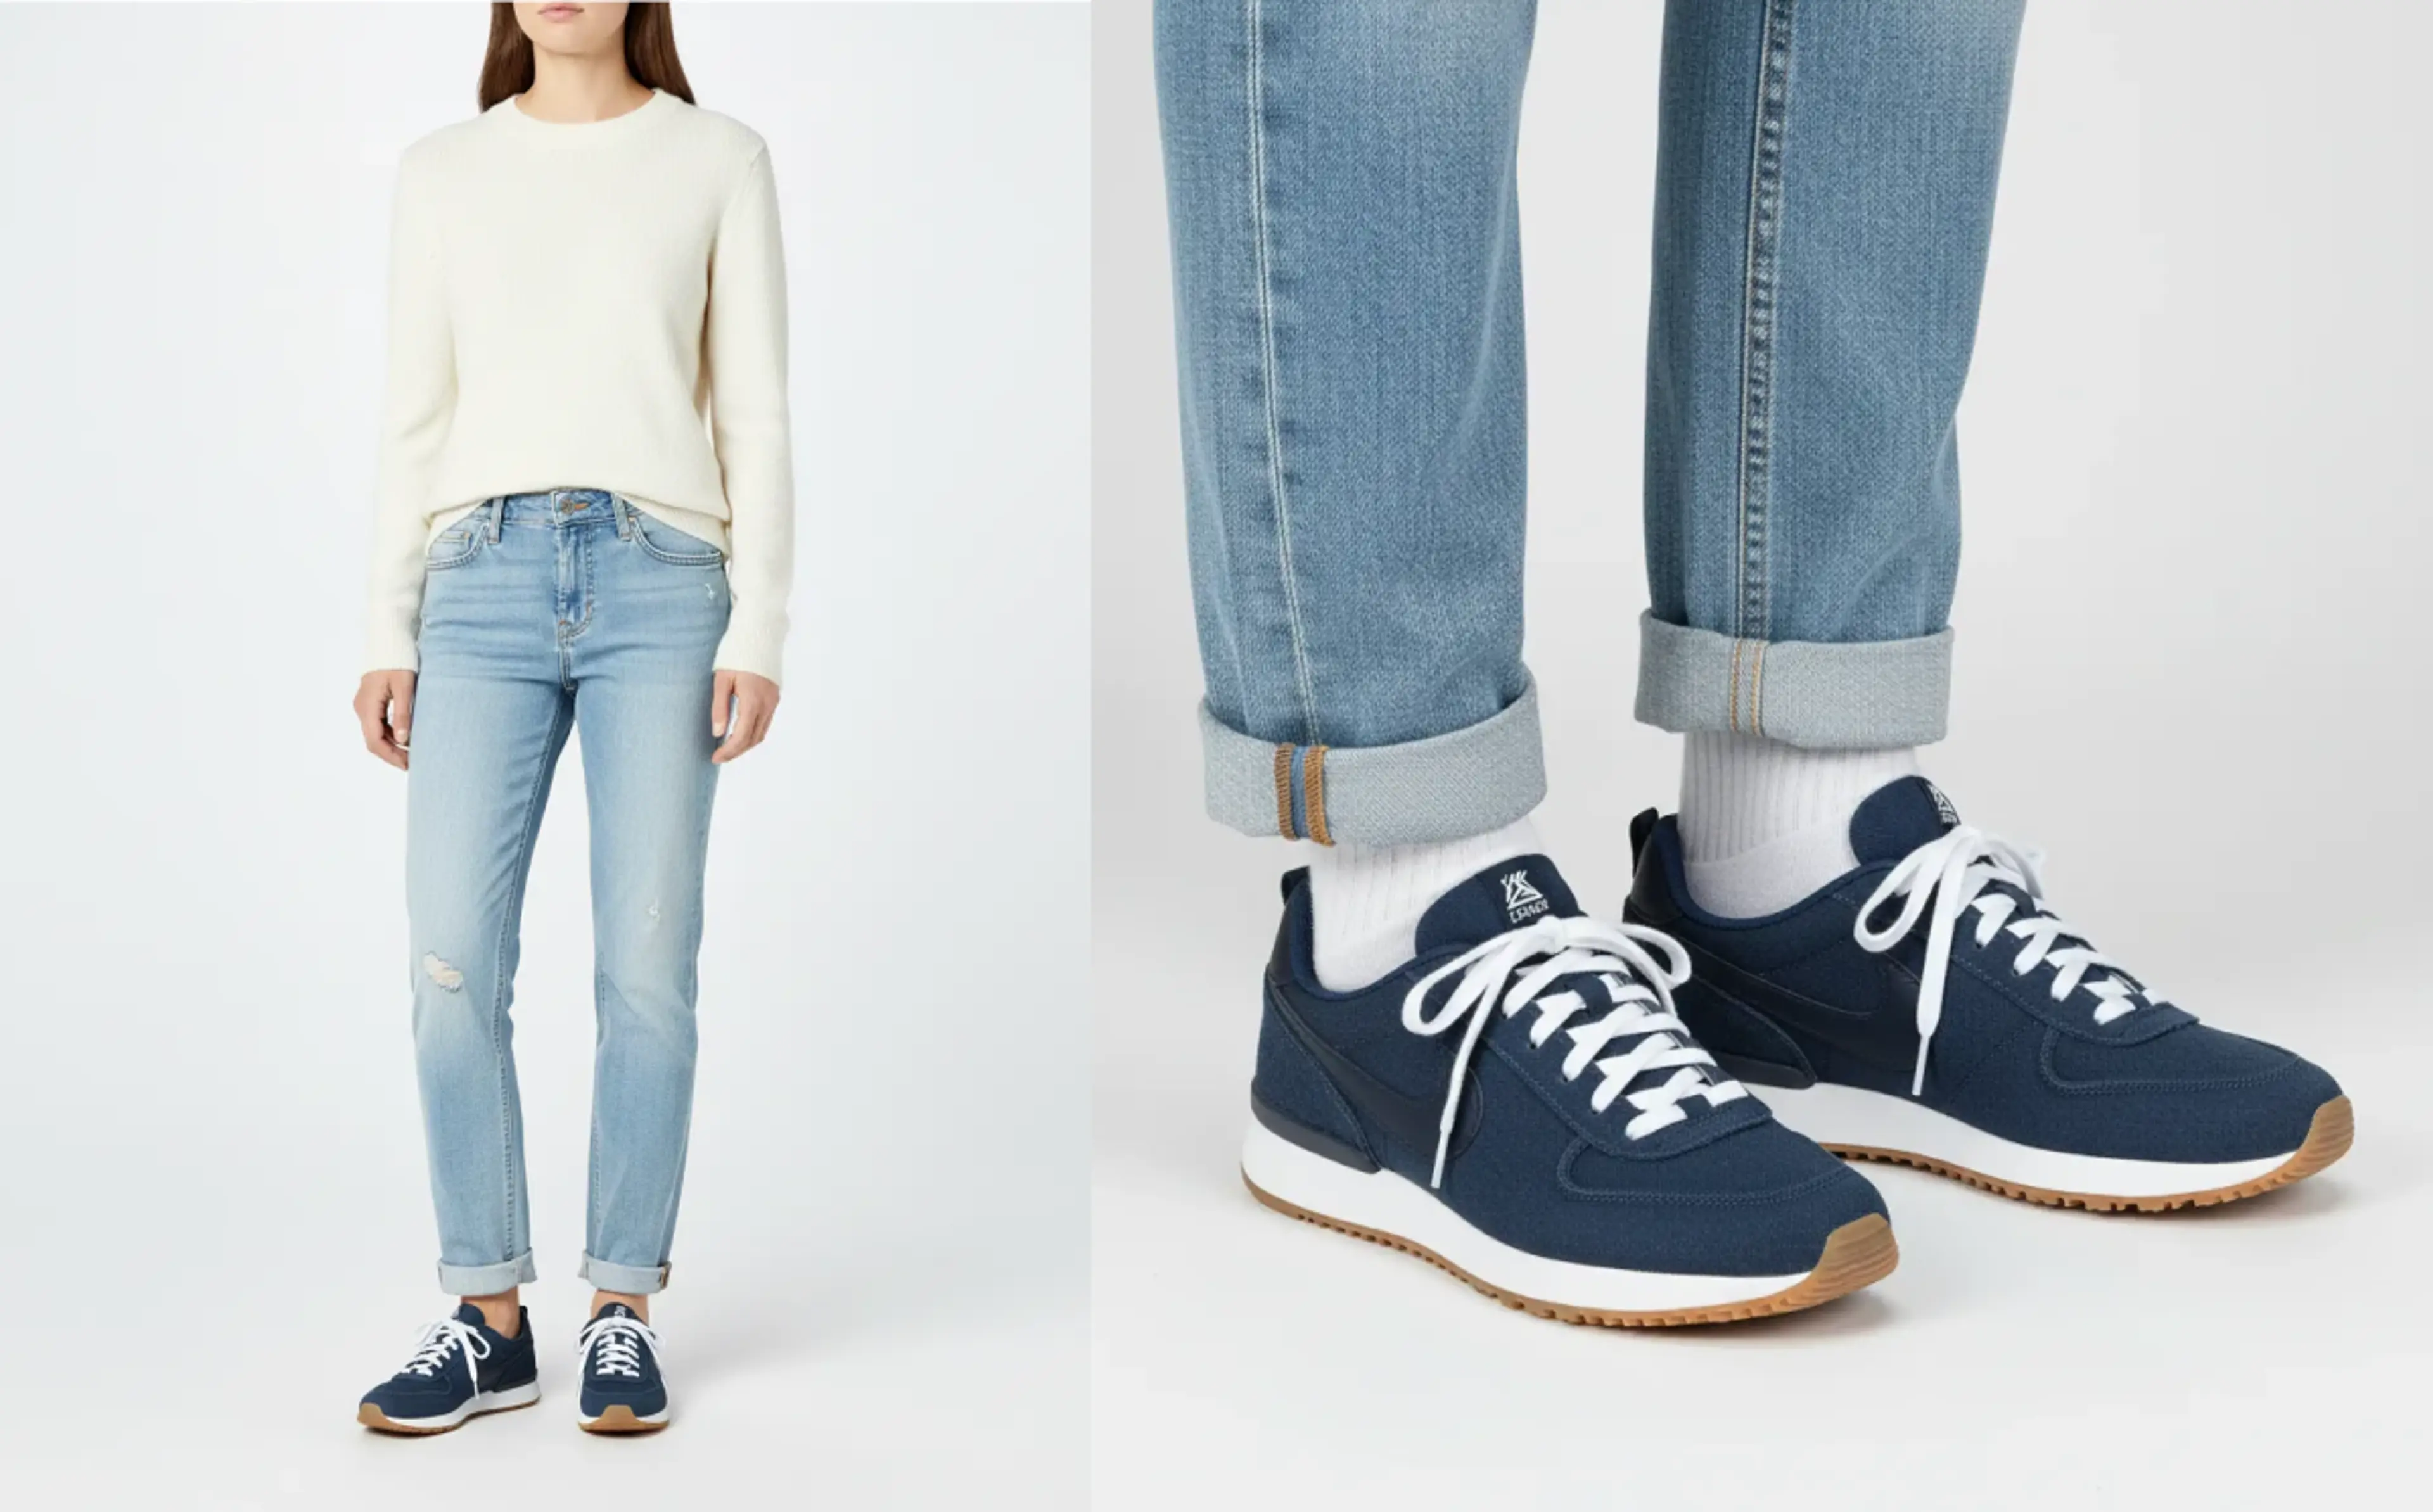
Support close-up or full-body previews
Whether you need a close-up of a ring on a hand or a full-body look, the tool handles both with realistic placement and proper proportions.
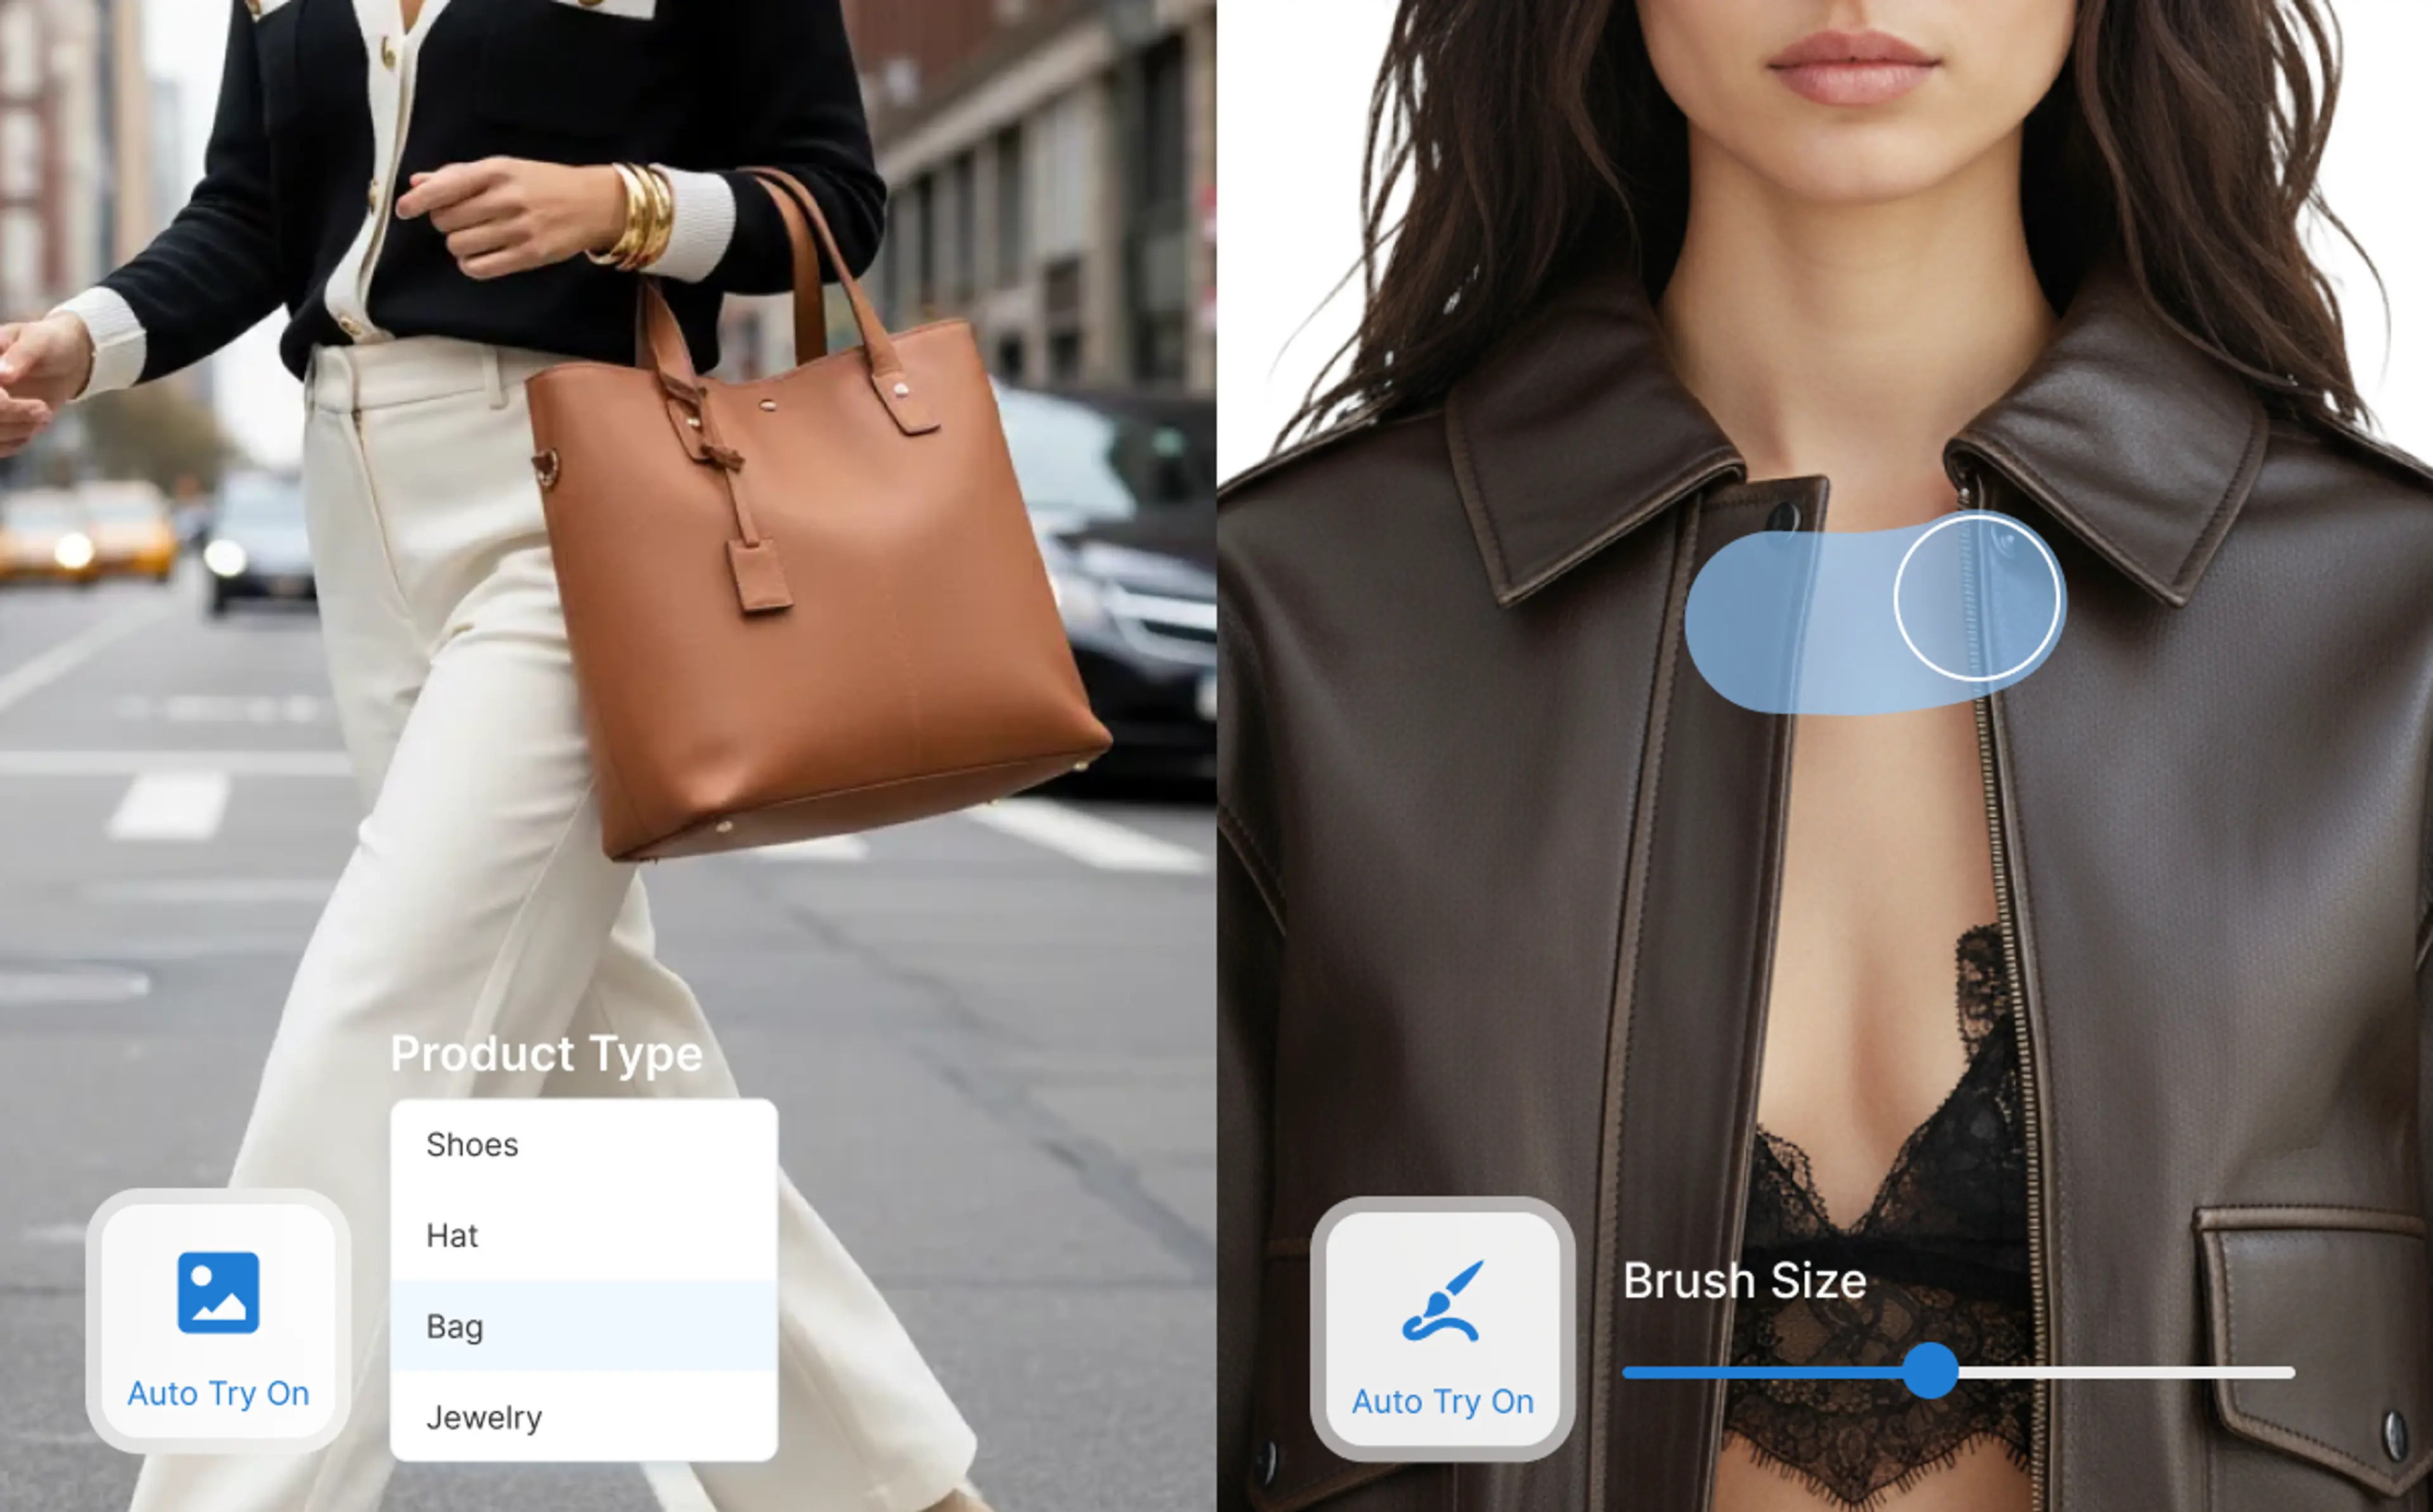
Support manual or automatic try-on
Auto-place the accessory or manually specify the placement area. Gives full creative control when needed, and fast auto results when speed matters.
FAQs About Virtual Jewelry Try On
What is a virtual jewelry try on tool?
HuHu’s virtual jewelry try on tool uses AI to overlay accessories — like rings, earrings, hats, bags, or shoes — onto model photos (or user photos), creating realistic images showing how the accessories might look when worn. This helps customers visualize fit and style before purchase.
With HuHu AI, users can first generate virtual try on of garments, or create custom AI fashion models, then use Virtual Jewelry Try-On tool to add accessories to the model photo. This gives eCommerce users full creative control over the images used in product listings, ads, or campaigns.
What types of accessories can I use?
You can use jewelry (rings, earrings, necklaces, bracelets, chokers), as well as hats, bags, shoes — basically any wearable accessory.
For hats, you can specify posture (wearing, holding, carrying). For jewelry, you can specify the jewelry type (ring, earrings, necklace, etc.) so AI understands where it goes on the model. Upload a full-body, half-body, or close-up shot depending on what you’re trying on.
How to virtually try on a ring?
Upload a photo of a hand or a full-body image, select “ring” as accessory type, and optionally mark finger area. The AI will overlay the ring realistically onto the finger, handling placement and sizing automatically.
How do I specify where the accessory should appear?
You can use auto try-on: choose the accessory type and let AI decide placement. For more control, you can use a brush tool to manually specify the exact area where the accessory should appear (ear, neck, wrist, hand, etc.).